Containers are naturally ephemeral, meaning they vanish along with all their data once stopped or deleted. This is fine for stateless apps like simple web servers, but not ideal for databases, uploaded files, or logs, anything that must persist.
That’s where Docker Volumes come to the rescue . They store data outside the container, ensuring it remains safe even after the container is removed or rebuilt.
⚠️ Why Data Loss Happens in Containers
Each container runs with its own isolated filesystem. Once a container stops or is deleted, its writable layer disappears, along with any data inside it.
🧩 For example:
If your container writes files to /app/data, those files are gone when the container restarts, unless they were saved in a persistent storage layer.
To prevent this, we move data outside the container’s lifecycle and that’s exactly what Docker volumes do.
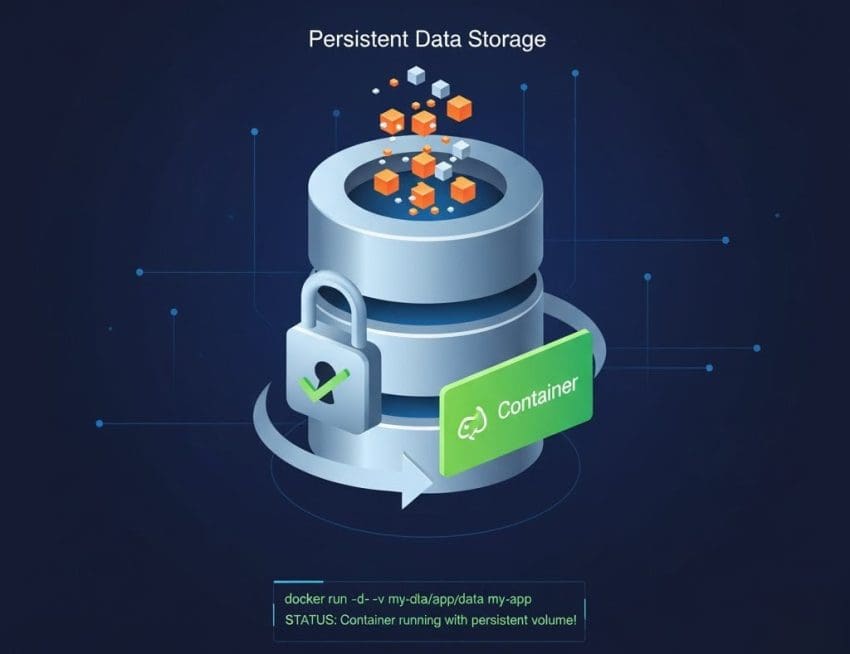
Understanding Docker Volumes
A Docker Volume is a special storage mechanism managed by Docker itself. It lives independently of containers and can be shared among them.
Here are the main storage options Docker offers:
1️⃣ Volumes → Managed by Docker (stored in /var/lib/docker/volumes/).
2️⃣ Bind Mounts → Link a host machine directory to a container path.
3️⃣ tmpfs Mounts → Store temporary data in the host’s memory (cleared on stop).
⭐ Volumes are the go-to choice for production, they’re portable, secure, and easy to maintain.
🛠️ Creating and Using a Volume
To create a new volume:
docker volume create app_dataNow, mount it inside a container:
docker run -d \
  --name webapp \
  -v app_data:/var/www/html \
  nginx
Here’s what happens:
- A volume named
app_datais attached to/var/www/htmlinside the container. - Files written there persist even after the container is stopped or deleted.
To verify:
docker volume lsTo view details:
docker volume inspect app_data👩💻 Using Bind Mounts for Development
During development, it’s often useful to sync local code changes directly with a running container. This is where bind mounts shine ✨.
Example:
docker run -d \
  --name dev_webapp \
  -v $(pwd):/var/www/html \
  nginx
This links your current working directory to /var/www/html inside the container. Any code changes you make locally appear instantly in the container.
💡 But for production, volumes are safer and more predictable than bind mounts.
🔗 Sharing Volumes Between Containers
Sometimes, multiple containers need access to the same data, for example, a web server and a backup container.
docker run -d --name web1 -v shared_data:/data nginx
docker run -d --name web2 -v shared_data:/data nginx
Both web1 and web2 share the shared_data volume. Changes made by one container are immediately visible to the other, ensuring consistent, shared data.
🧹 Cleaning Up Unused Volumes
Over time, unused volumes can pile up and consume disk space.
List all volumes:
docker volume lsRemove a specific one:
docker volume rm app_dataRemove all unused volumes safely:
docker volume prune🔒 Wrapping Up: Ensuring Data Persistence
By default, Docker containers are short-lived and that’s what makes them powerful. But to protect important data, volumes add the missing persistence layer.
🧠 Quick Recap:
- Use volumes for persistent storage.
- Use bind mounts during development.
- Regularly clean up unused volumes to save disk space.
With proper use of Docker volumes, your containers stay stateless in design but stateful in data, achieving the perfect balance between flexibility and reliability.
To dive deeper… Check out these related topics: